
Now that you have successfully created an account on Hivelist.io, you are ready to set up your profile and get it connected to the HIVE blockchain so that your posts will directly go to HIVE and the Hivelist Classifieds Community.
Hivelist is built using WordPress so if you have used it before for blogs or websites, the backend should be pretty familiar. You will only have to really go into the WordPress backend just this time, anything else can be done using your front end profile. The website uses the @steempress plugin to connect to the HIVE blockchain. So you will need to properly follow the steps to get it running correctly.
Follow these steps to correctly set up your Hivelist.io account with the HIVE blockchain:
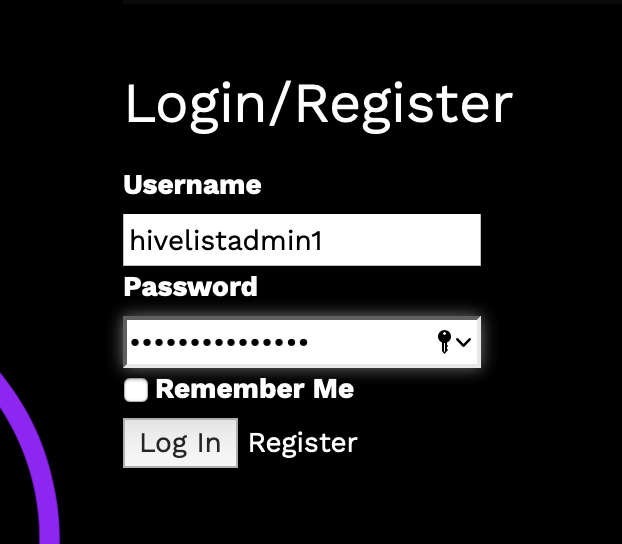
After you have created your account, login using your username and password.
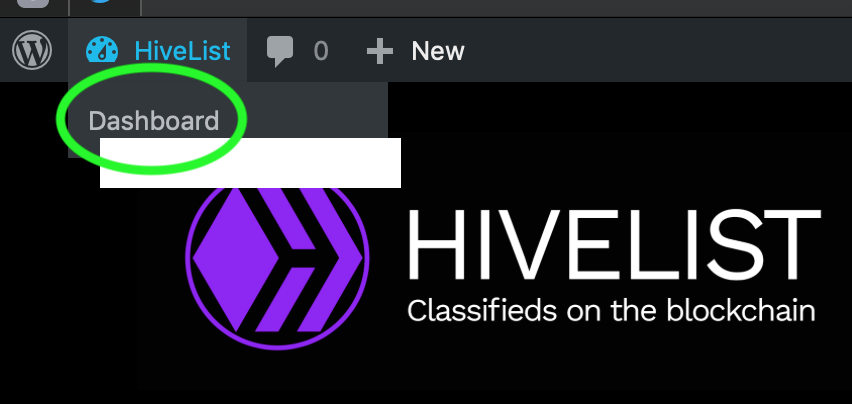
You will need to then go to the top left and corner of the screen and hover over the toolbar and click on Hivelist and a dropdown will pop up and say Dashboard, click Dashboard.
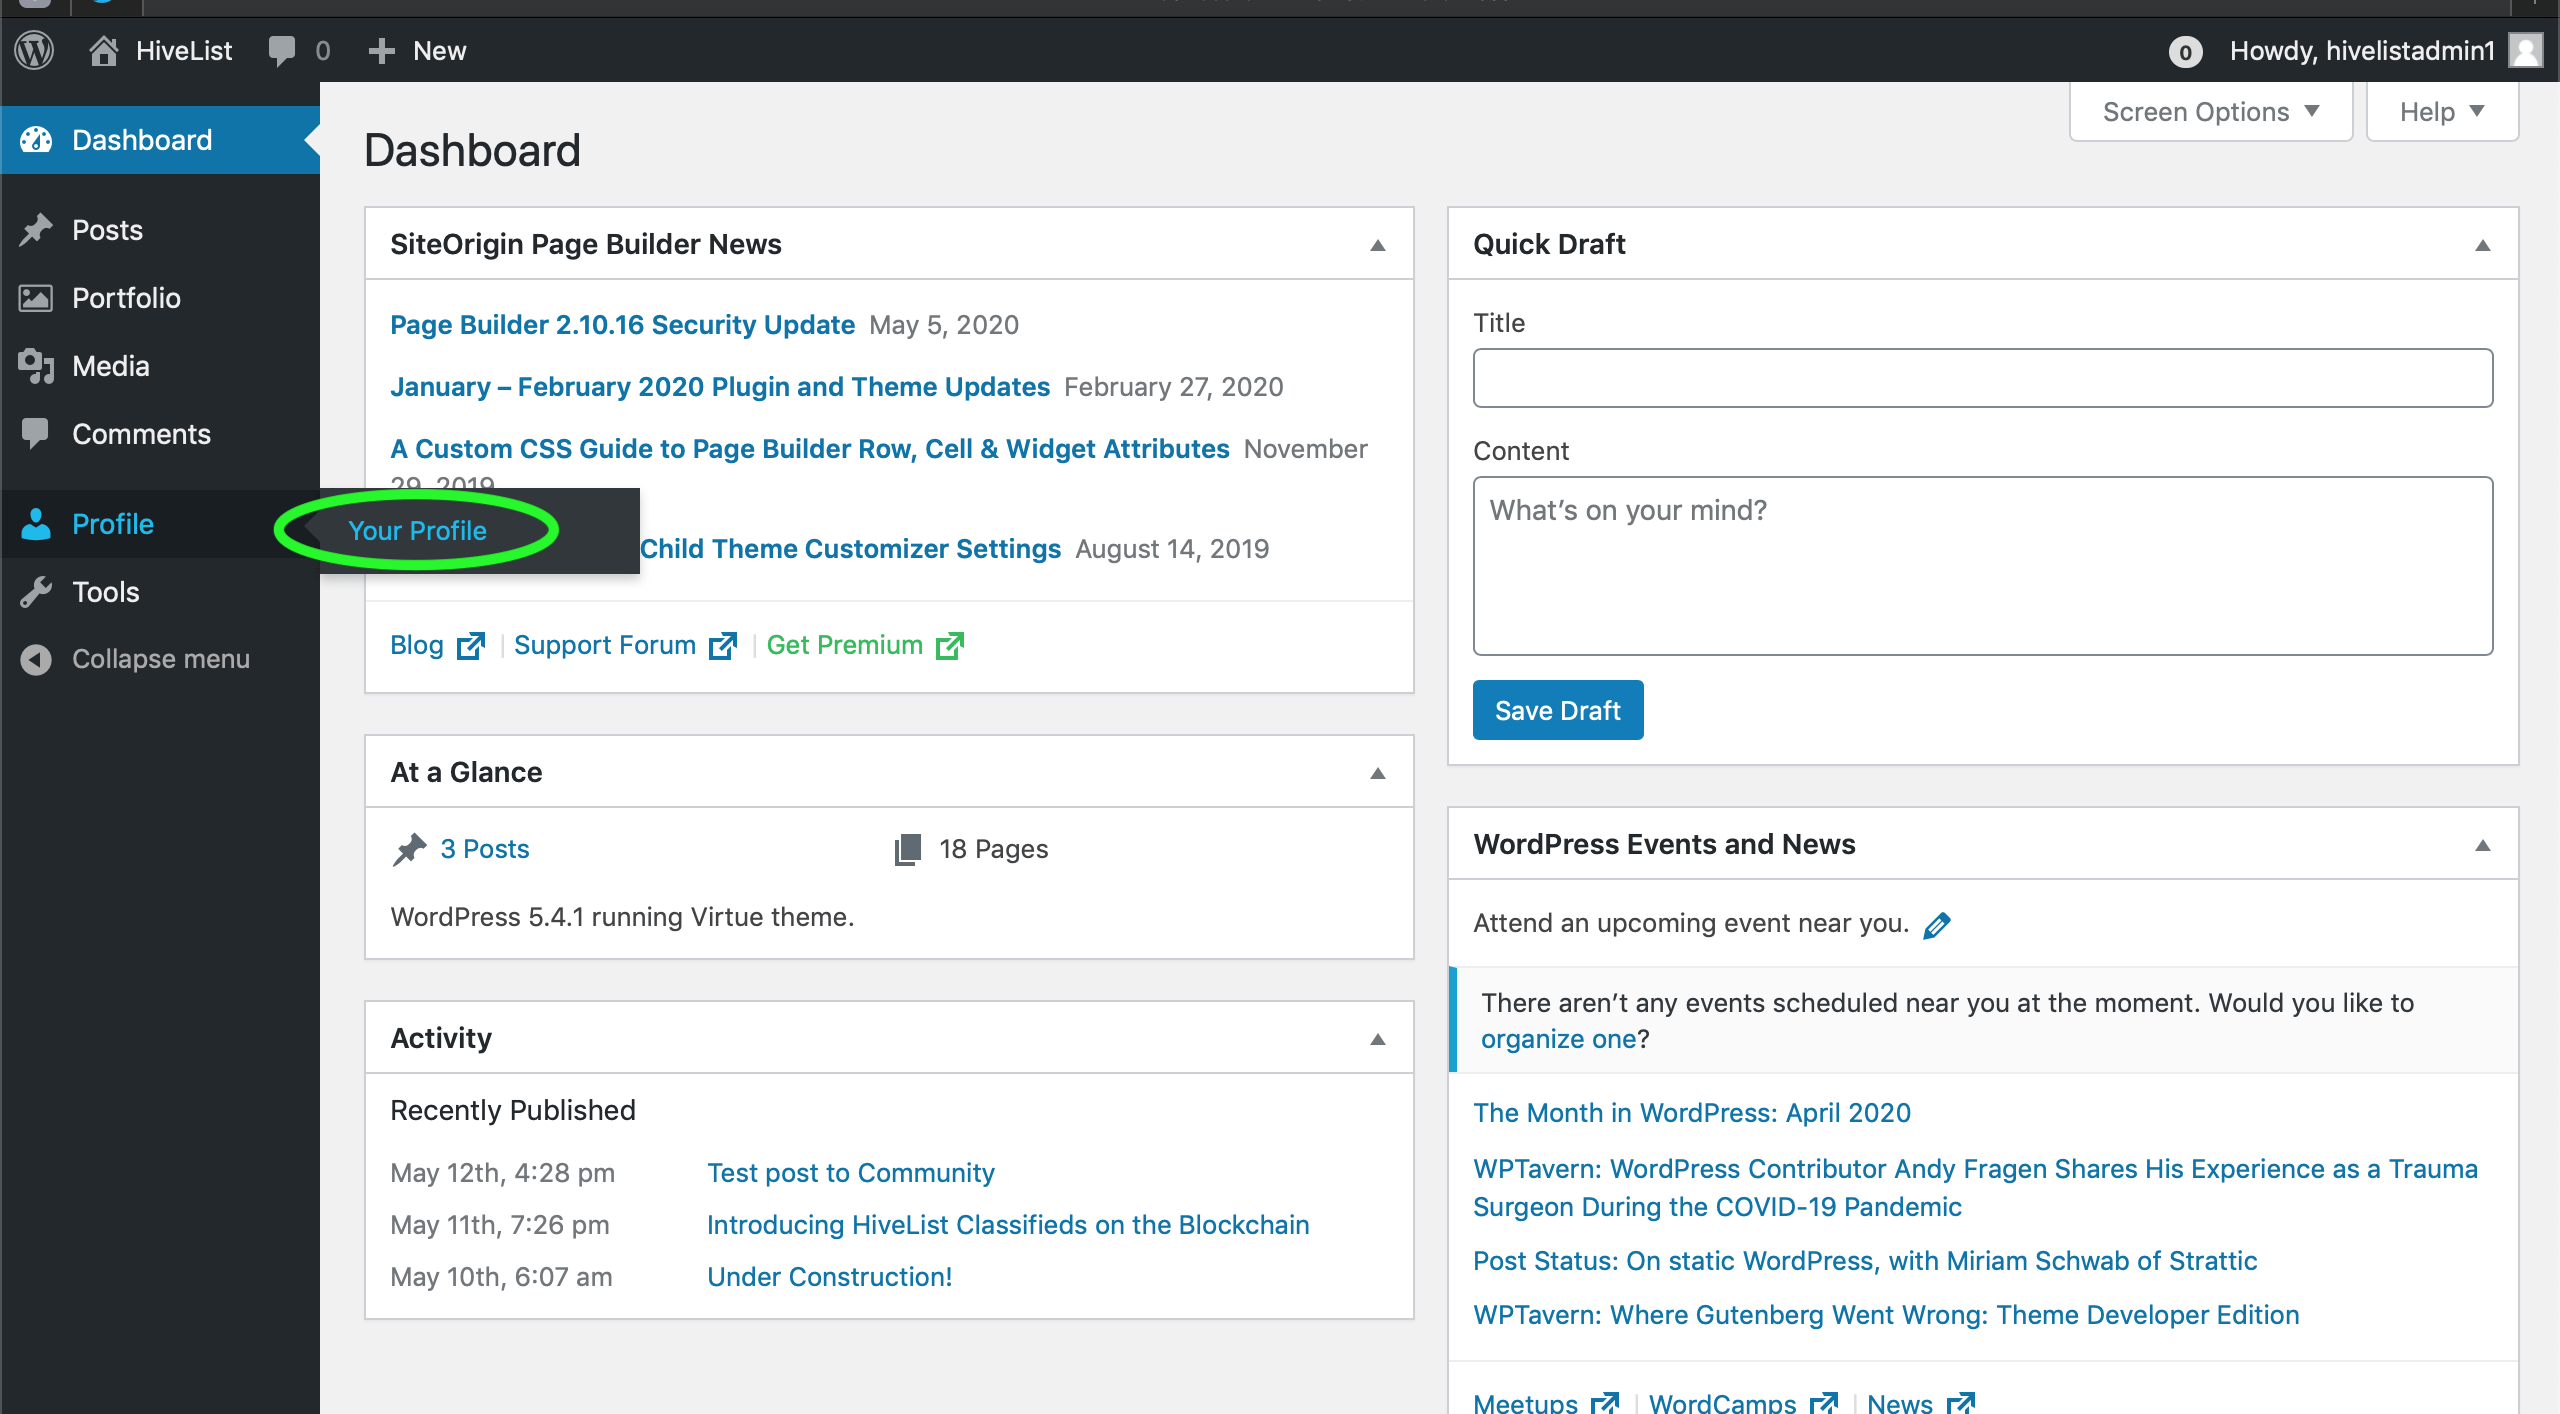
Once you are into the WordPress dashboard, you will then go to Profile -> Your Profile.
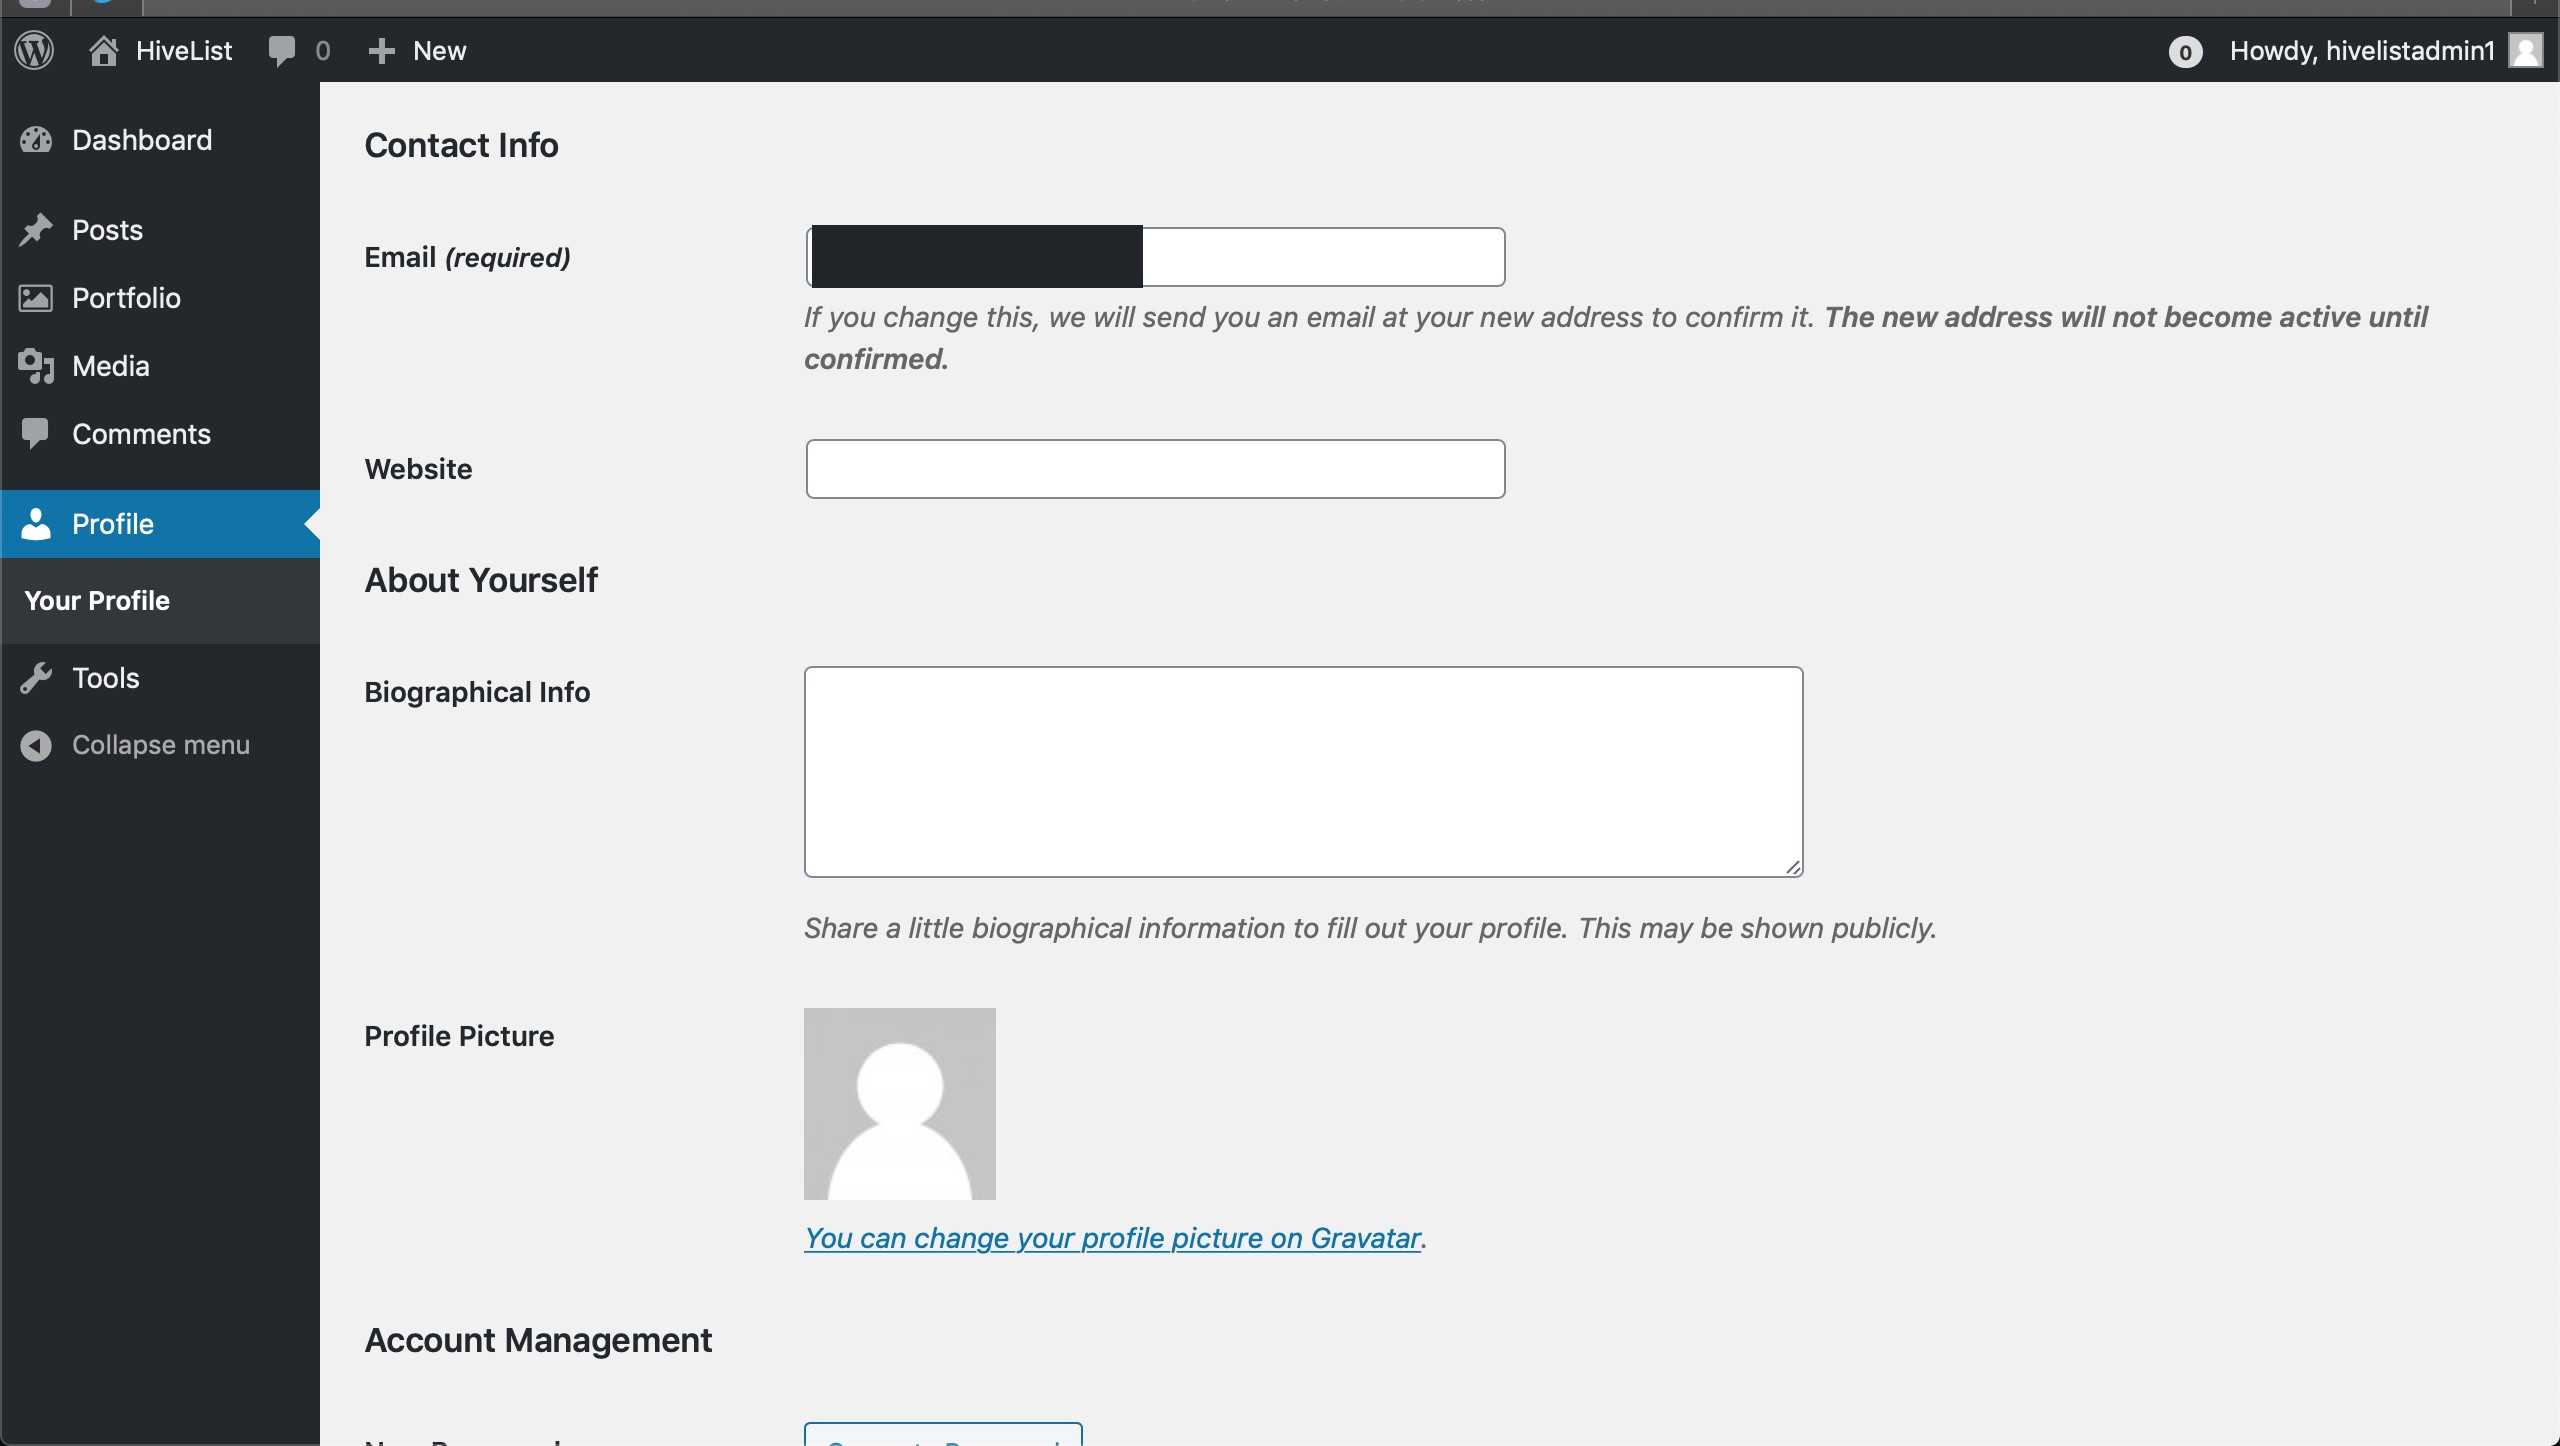
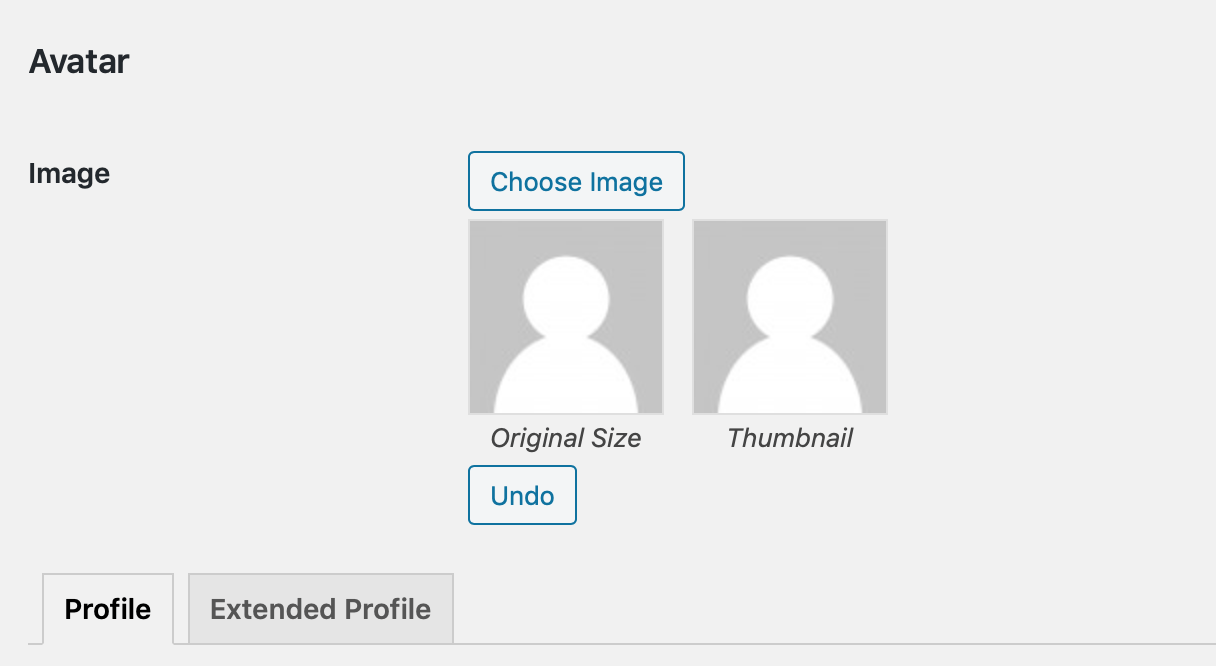
Once you are in your author profile, you can start to fill out any of the information you wish to enter. If you want to put a bio on your profile, you will need to do it here. Don’t worry about putting an avatar image in this place, we will do that in another section.
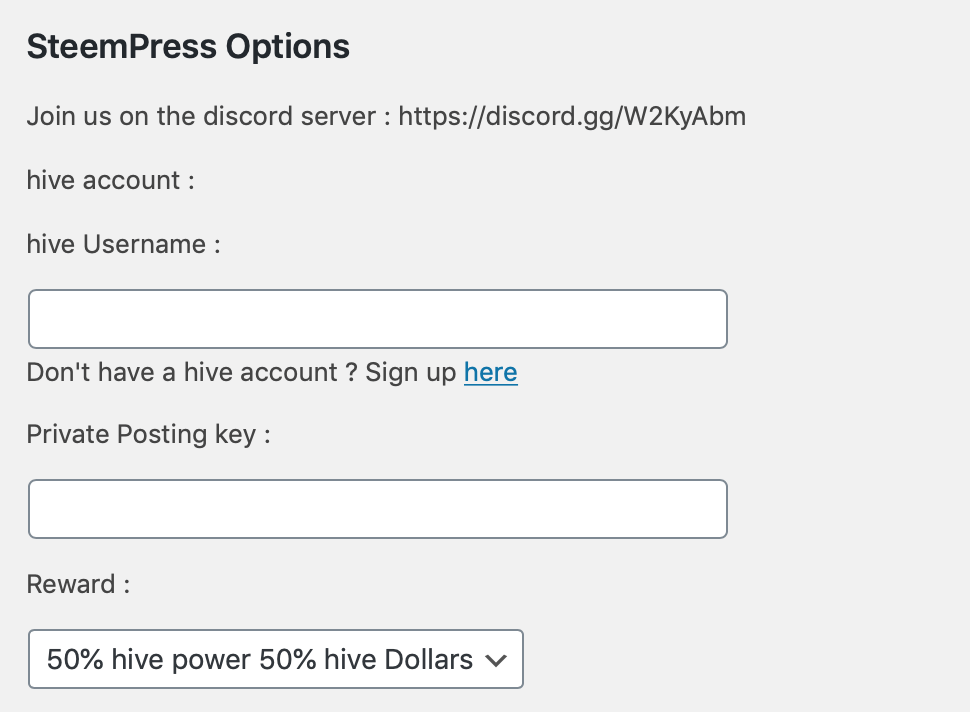
Then scroll down to the most important part about this portion of the setup, which is the Steempress plugin setup. This will get your HIVE account added to your profile and is what makes your Hivelist posts also go to the HIVE blockchain.

Here you will enter your HIVE account name and Private Posting Key. This allows our platform to connect to Hive.
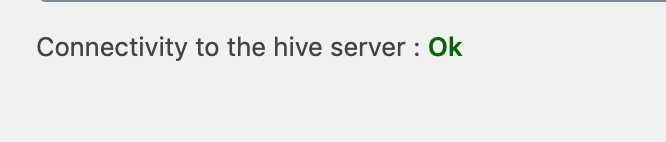
If you use the wrong key, you will see this error:

If all is well and you enter the correct information, you will see this:
Once you are connected to Steempress, you will need to check a few of the settings. On the front page of the website, you will need to copy some tags to use as default tags for your posts. These tags will allow the post to tag Hivelist, which we will give your post an upvote, as well as send the post directly to the Hivelist Classifieds Community, as well as tags Steempress so they will also give you a nice upvote on your post. This is a very important step to get the post to go to the right community and get you some extra upvotes.
The tags to enter are:
hive-150840 hivelist classifieds steempress
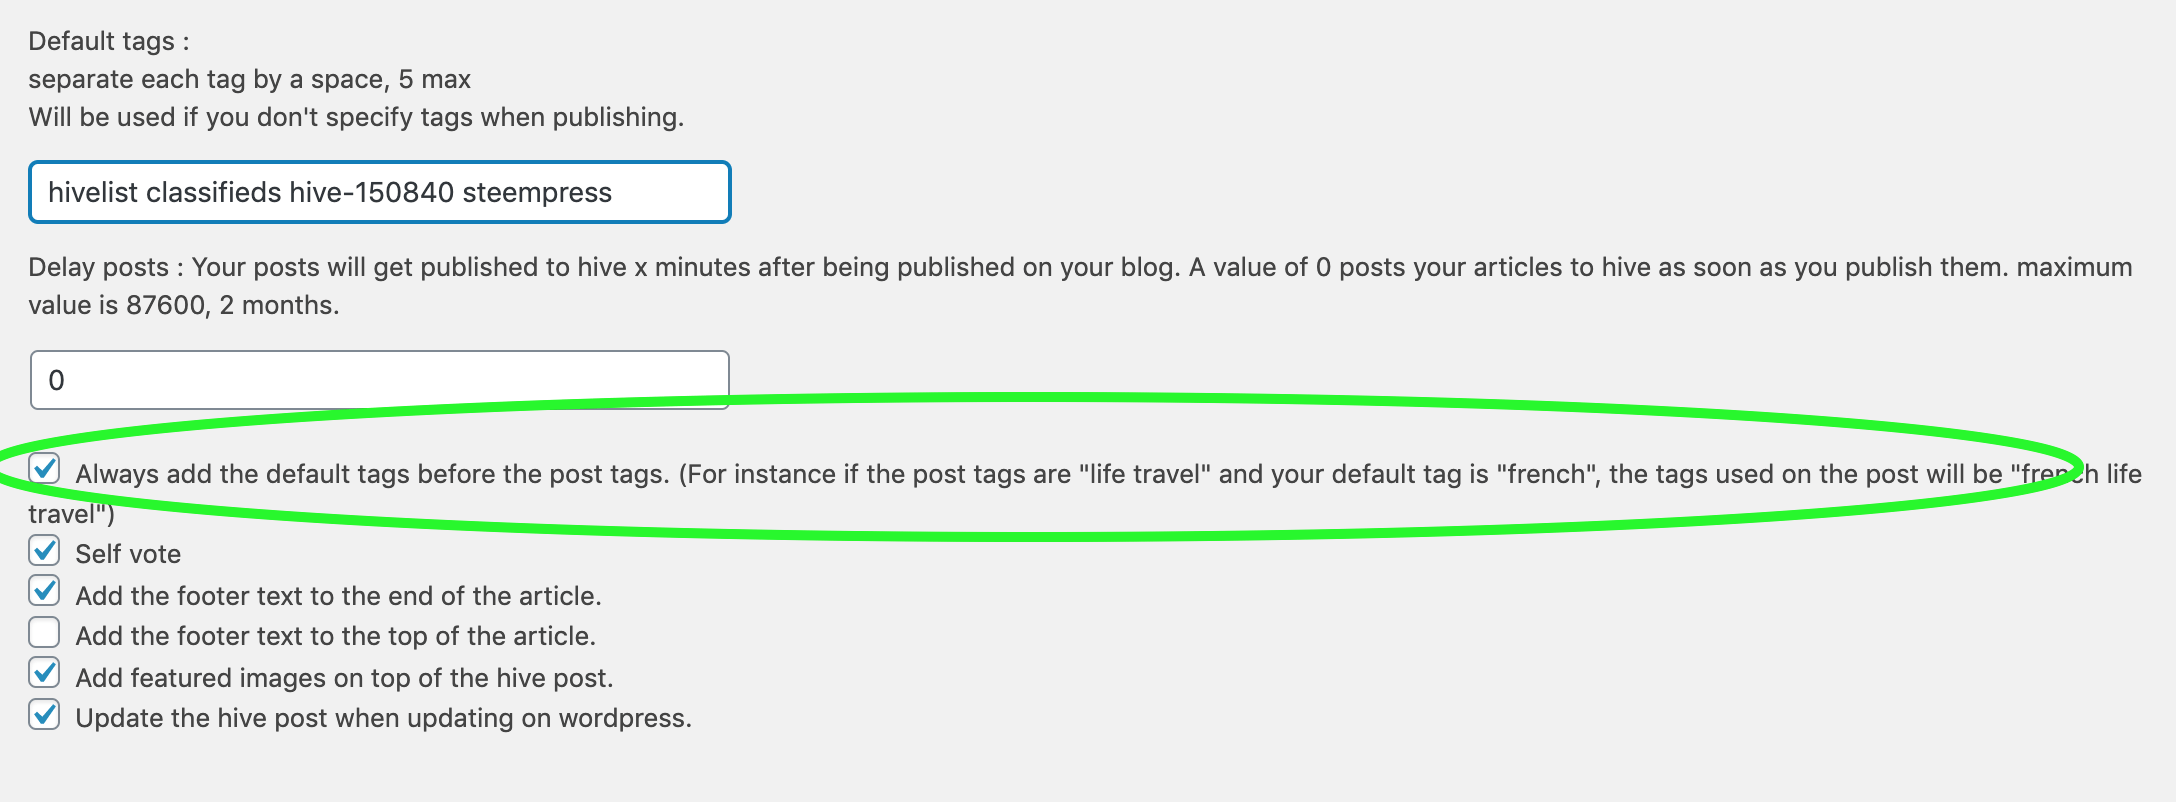
When you paste them into the Default tag section, it should look like this:
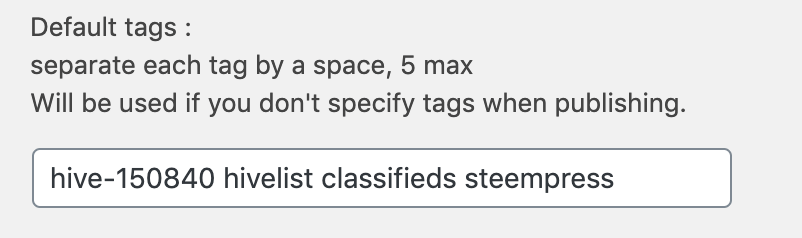
It is important that the hive-150840 is first so that it goes to the Hivelist community automatically.
There are some settings that you will need to make sure are set properly in the Steempress section. Most are set by default, but to add the default tags to your posts, you will need to make sure to click the top checkbox that puts the default tags at the front of your post like so:
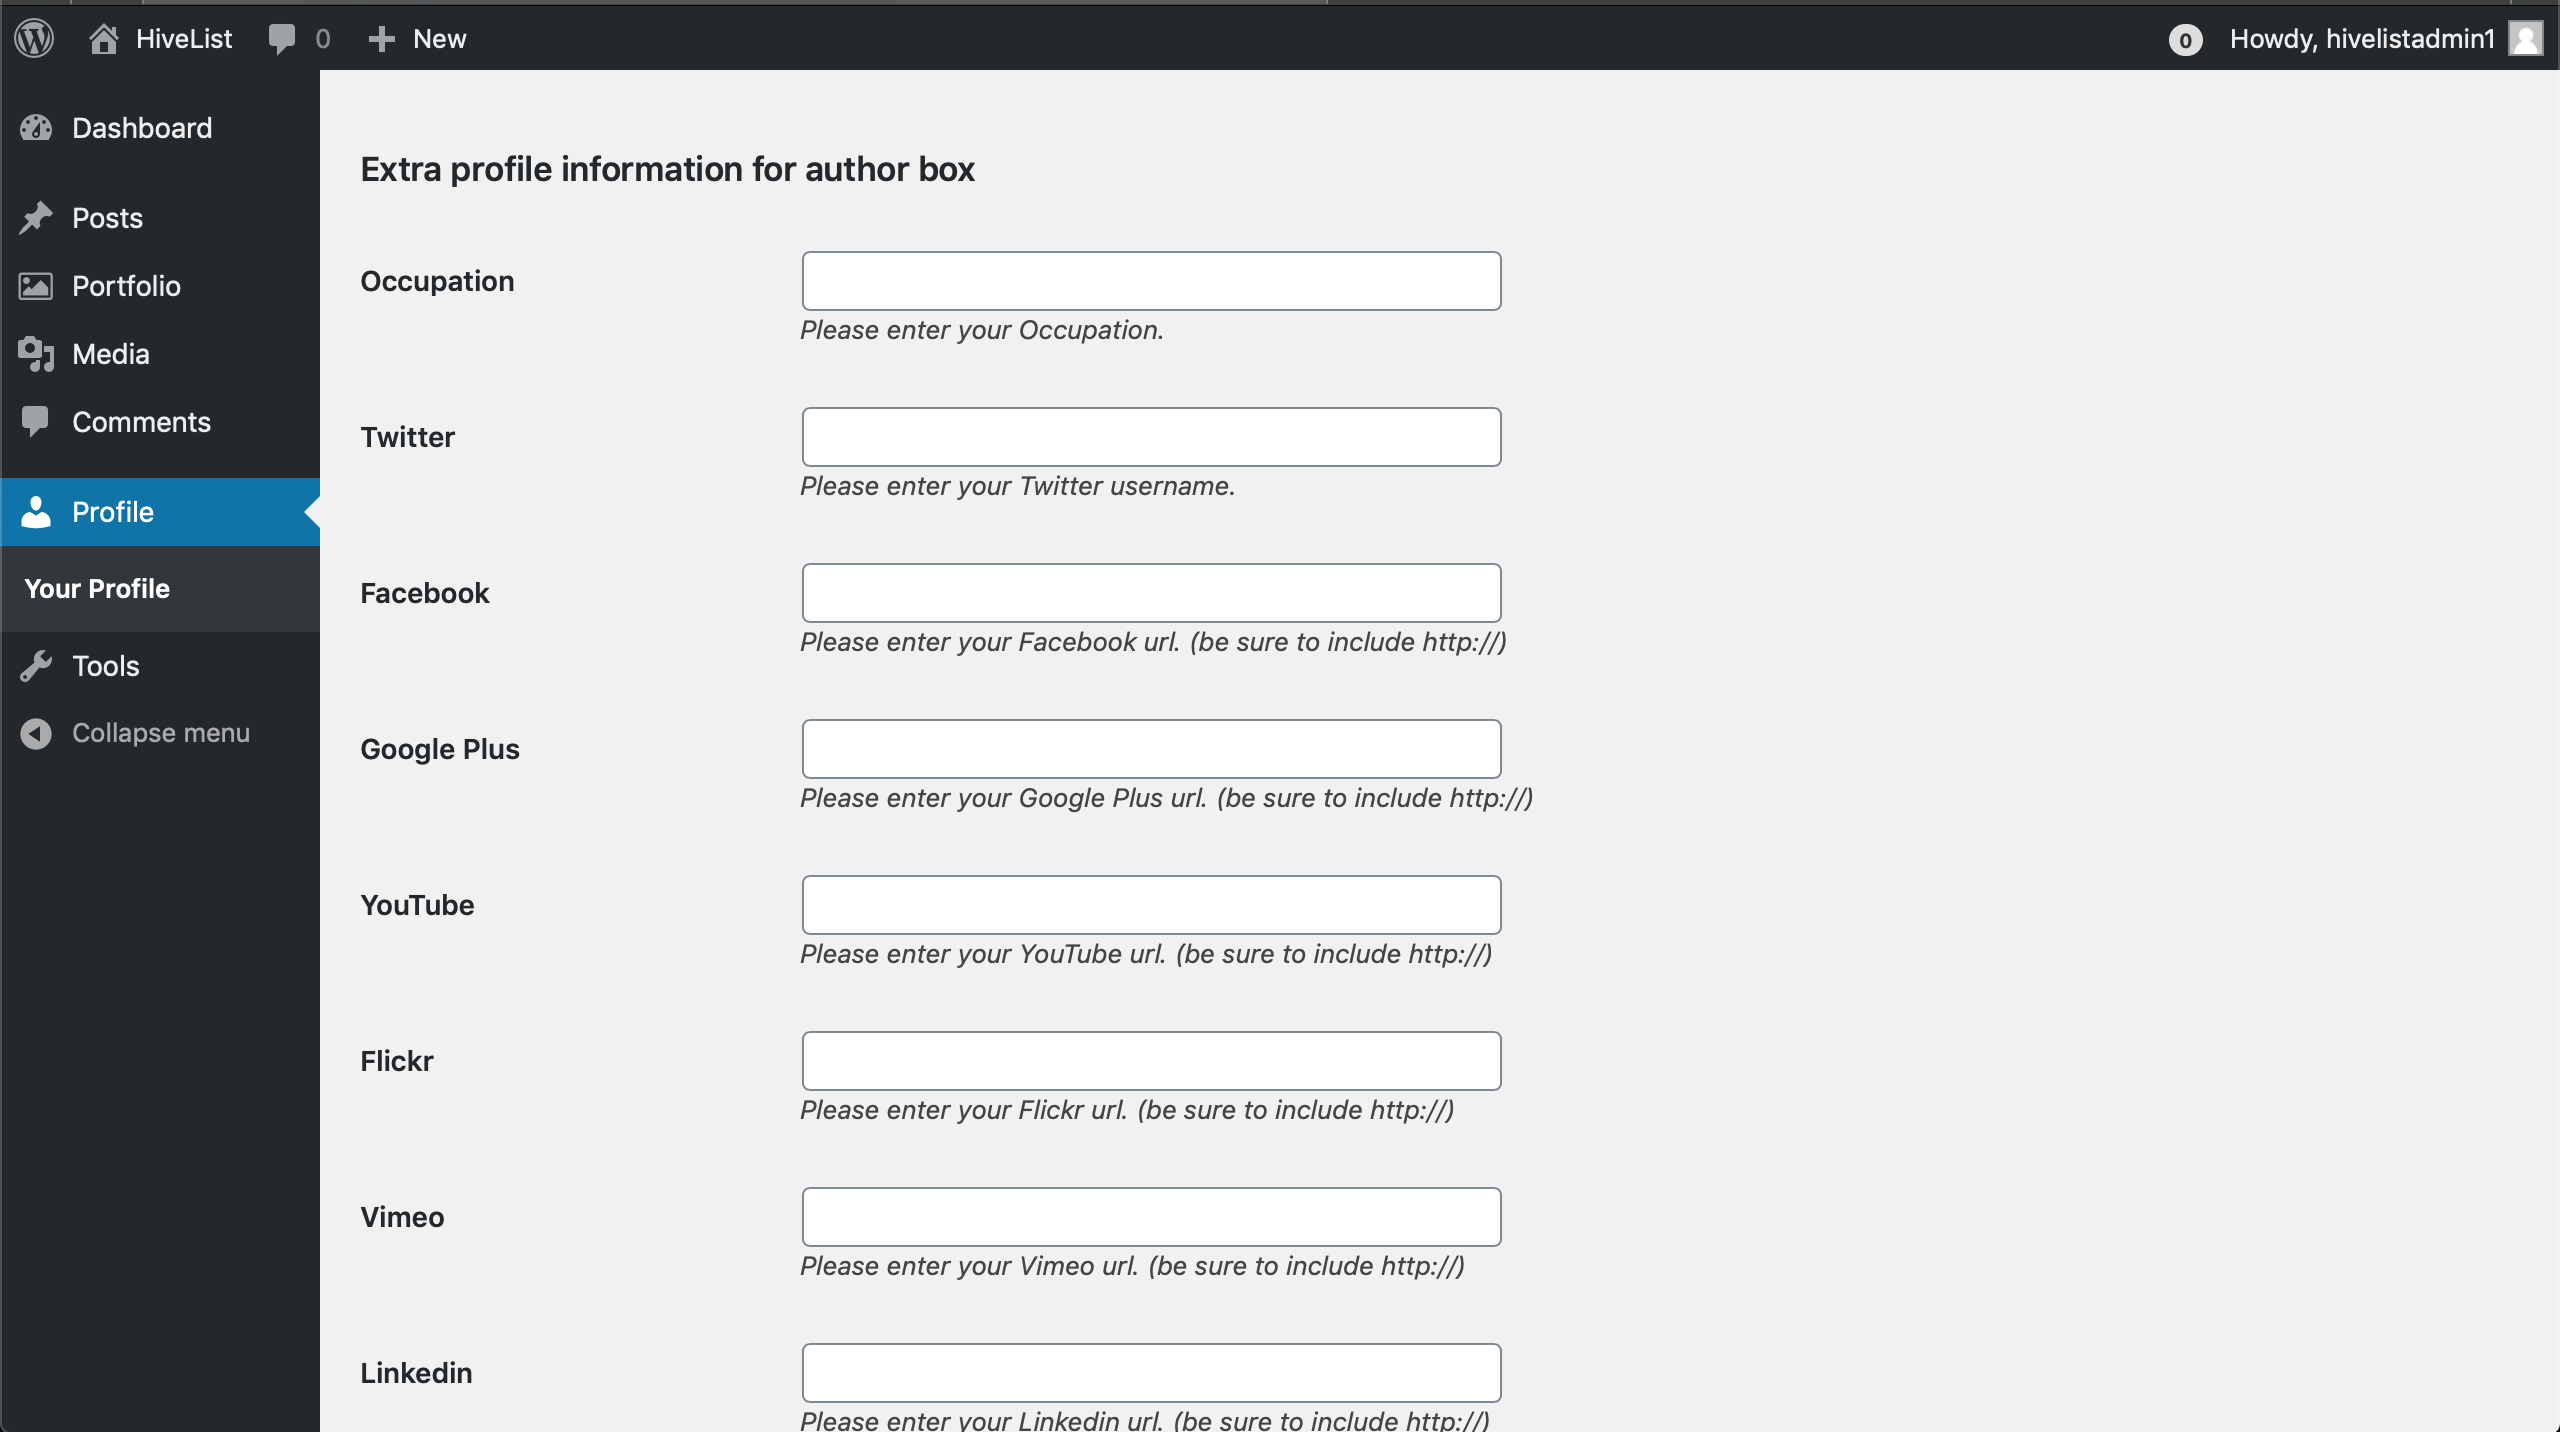
Once that is complete, you can then move on to fill in any social media links you would like to add to your profile.
You can then add an avatar if you would like, but this is not necessary because we can add it when we edit the front end part of the profile where you can also edit your cover image just like any other social media platform.
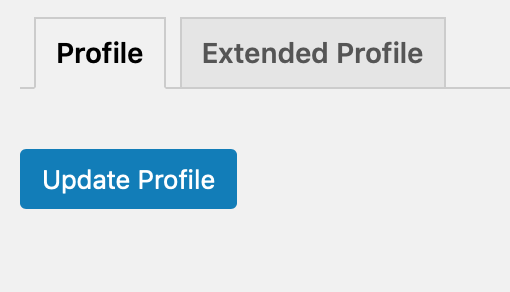
Then the final step is to make sure you hit the Update Profile button… You want to save your changes I would think…
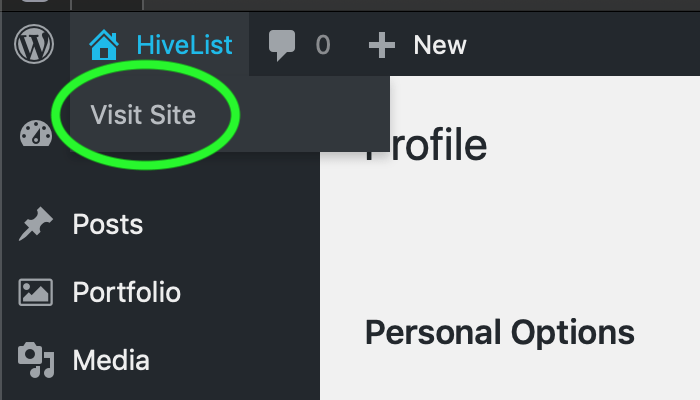
Once your profile is updated, you can then go back to the site and start posting your ads and chatting with the community! Just go to HiveList in the top left corner and then click Visit Site.
Congratulations, you have just set up your Hivelist.io profile to link to the Hive blockchain!
Next article will be about how to set up the front end profile.
